

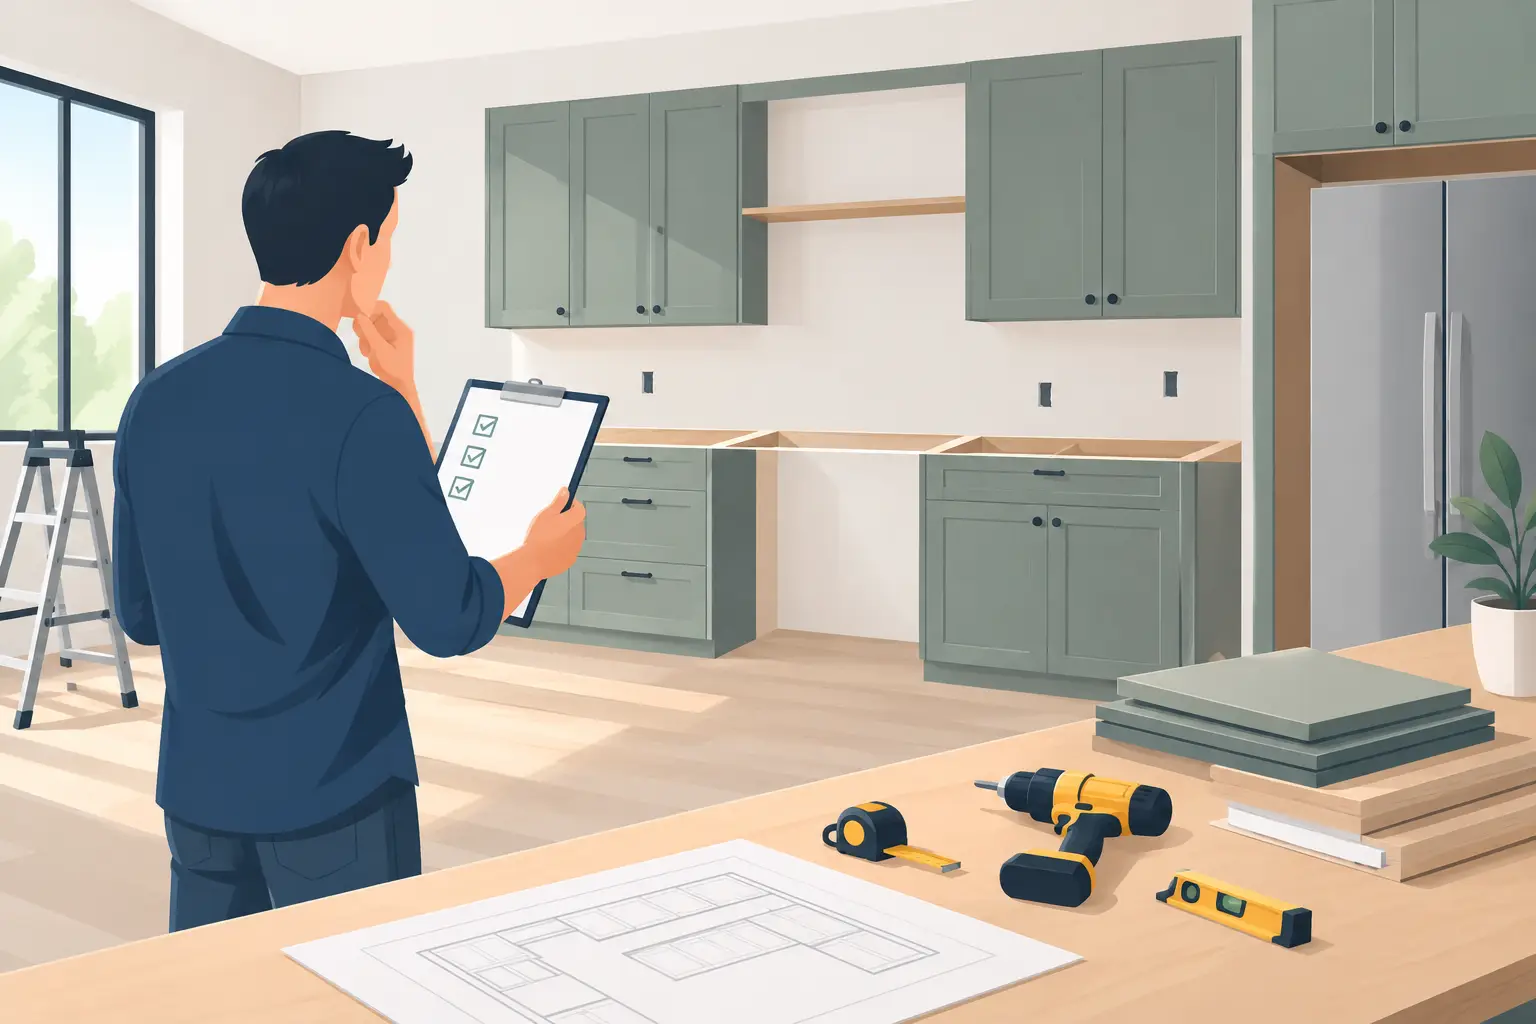
A cabinet installation can transform a dated kitchen or bathroom quickly, but the best results begin well before the first cabinet box enters the room. When you prepare for cabinet installation carefully, your installer can work efficiently, your new cabinets have the right foundation, and costly last-minute changes are far less likely.
For Tampa Bay homeowners, preparation also means accounting for the realities of a lived-in home: coordinating deliveries, protecting floors, working around family schedules, and keeping indoor humidity under control. Whether you are hiring a full remodeling team or handling parts of the project yourself, a clear plan makes installation day much easier.
Prepare for Cabinet Installation Before Ordering
Cabinets are built around dimensions, appliance specifications, and layout decisions. That means the room needs to be measured accurately before an order is placed, not simply before installation begins. A wall that is slightly out of square, a floor that slopes, or a window that sits lower than expected can affect cabinet sizing and trim details.
A professional field measure is the safest approach, especially for a kitchen with multiple corners, a large island, or existing soffits. If you are measuring for a DIY project, measure each wall in more than one place, record ceiling heights, and note every outlet, water line, gas connection, vent, window, door, and opening. Photos taken straight-on and from the corners are useful references during design planning.
Finalize appliances and fixtures early
Your cabinet layout depends on the exact size and placement of your appliances. Confirm the model numbers and cut sheets for the refrigerator, range, hood, dishwasher, microwave, and any specialty items before cabinet plans are finalized. A refrigerator that is deeper than expected or a range hood that needs a larger duct can change surrounding cabinet choices.
The same principle applies in a bathroom. Vanity width, sink style, faucet placement, mirror height, medicine cabinets, and light fixtures should all work together. A wall-mounted faucet, for example, requires plumbing rough-in at a different height than a standard deck-mounted faucet.
Do not assume a new appliance will fit where an old one sat. Modern appliances vary widely in depth, clearance needs, and door swing. Leaving the correct clearance now protects both function and the finished look of the room.
Complete the work behind the cabinets
Cabinets are not meant to hide unfinished structural or mechanical work. Before installation, complete any plumbing, electrical, HVAC, framing, drywall, or window work that will be located behind or inside cabinet areas.
This is the time to move outlets, add under-cabinet lighting wiring, install a dedicated circuit for a microwave, repair water-damaged subflooring, or address a wall that is badly out of plumb. In bathrooms, confirm the shutoff valves and drain locations align with the vanity plan. In kitchens, ensure dishwasher, refrigerator, and range connections are accessible and positioned correctly.
If walls are being painted, most homeowners prefer to paint before cabinets go in. It is faster and cleaner than cutting around new cabinetry later. Final touch-ups can always be completed after installation.
Make Sure the Room Is Ready
A cabinet installer needs safe access, a clean workspace, and a stable environment. The room does not have to look finished, but it does need to be ready for precise work.
Remove old cabinets, countertops, and appliances according to the project schedule. If demolition is part of your service, confirm who is responsible for haul-away and what needs to be cleared beforehand. Empty every cabinet, drawer, pantry shelf, and nearby countertop. Small items have a way of migrating during a remodel, so pack and label them before demolition begins.
Keep the work area clear of furniture, rugs, wall decor, pet bowls, and personal belongings. Create a path from the entry point to the installation room that is wide enough for cabinet boxes. Protect adjacent flooring if it is staying in place. Ram board, drop cloths, and temporary floor protection can prevent scratches and dust damage during deliveries and installation.
Check floors, walls, and ceilings
Cabinets are installed level and plumb, even when the house is not. Small variations are normal, particularly in older homes, but major issues should be identified before installation day. Base cabinets need a solid, level floor. Wall cabinets need secure fastening points, usually wall studs or properly installed blocking.
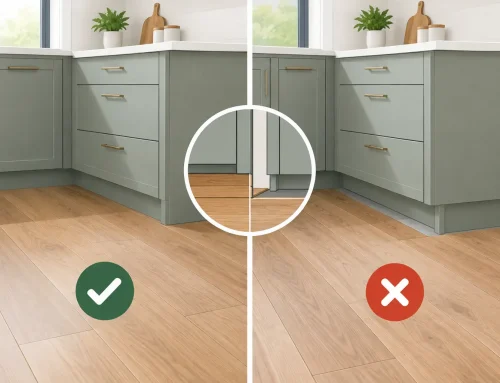
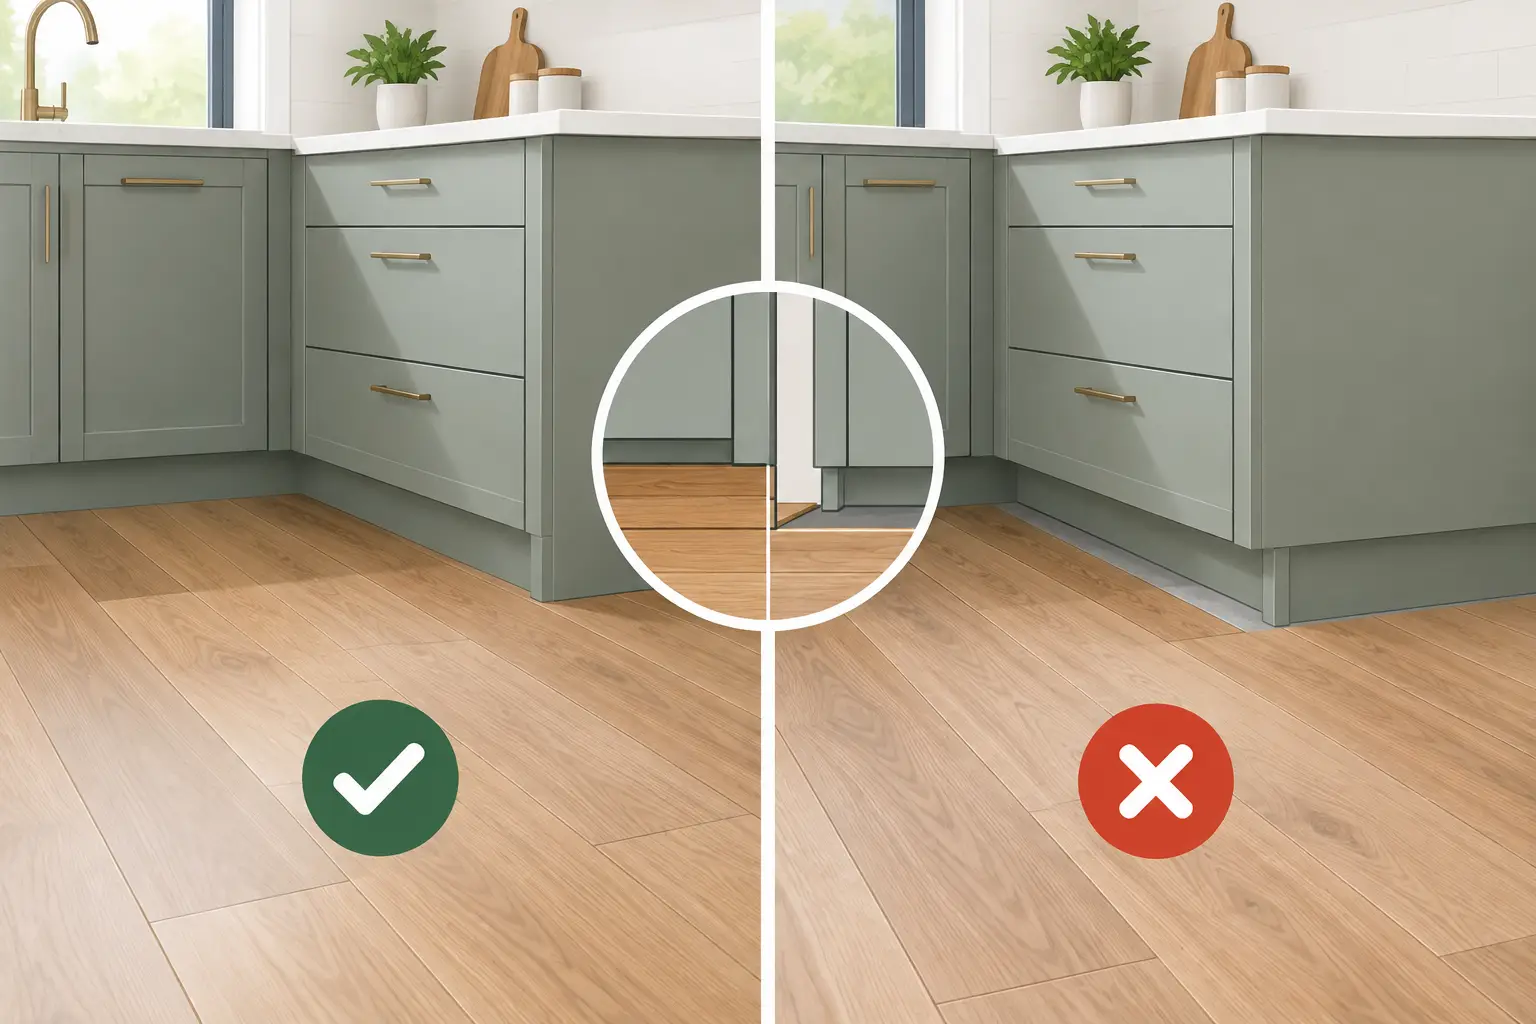
If new flooring is part of the remodel, coordinate the sequence with your contractor. Flooring often goes in before base cabinets for a continuous look, but there are exceptions. Floating floors, for example, generally should not be pinned beneath heavy cabinets because they need room to expand and contract. Tile, hardwood, vinyl, and laminate flooring each have different installation requirements.
Ceiling height also matters for tall pantry cabinets and stacked upper cabinets. Measure for crown molding, filler strips, and any planned decorative trim. A design that looks perfect on paper can need adjustment when a ceiling has a noticeable dip.
Plan for Delivery and Installation Day
Cabinet delivery is not the same as installation. Confirm the delivery date, inspect the path into the home, and make sure someone can receive the order if required. Cabinets should be stored indoors in a dry, climate-controlled area, not in a garage, patio, or damp space. Tampa Bay heat and humidity can be especially hard on wood products, doors, and finishes.
When the order arrives, check the cartons against the packing list. Look for visible damage before materials are moved or unpacked. Minor issues can often be resolved, but finding them early gives your project team more time to order a replacement if needed.
On installation day, expect noise, dust, and regular trips in and out of the house. Keep children and pets away from the work zone. If possible, arrange an alternate work area or plan to be out for the most disruptive portion of the day. Installers may need access to electrical panels, water shutoffs, driveways, or outdoor work areas, so clear those spaces in advance.
A few simple preparations help the crew stay focused:
- Reserve a convenient parking space and keep the driveway accessible for unloading.
- Confirm the installer has the correct entry instructions and a working contact number.
- Protect or remove valuables near the work area and travel path.
- Keep utilities on unless your contractor has provided different instructions.
- Set aside a place for questions, plans, samples, and appliance specifications.
Know What Happens After the Boxes Are Installed
Cabinet installation is a major milestone, but it is often one part of a larger sequence. Once the cabinet boxes are leveled, secured, and fitted with doors and drawers, countertops may need to be templated. That template usually happens after the base cabinets are fully installed, which means there can be a short wait before countertop fabrication and installation.
Plumbing hookups, backsplash tile, hardware, lighting, appliances, and final paint touch-ups may follow. Ask for a project schedule that explains the expected order of work. This avoids the common frustration of assuming the kitchen will be fully usable the moment cabinets are set.
Before the crew leaves, walk through the room with them. Open doors and drawers, check obvious finish concerns, and make note of any adjustments needed. Doors and drawer fronts are commonly adjusted after installation as the cabinets settle and the room is completed. A small reveal difference or a door that needs alignment is not unusual, but it should be documented and addressed.
Avoid Last-Minute Cabinet Installation Delays
The most common delays are preventable: missing appliance details, unfinished plumbing or electrical work, inaccessible rooms, unapproved design changes, and damaged materials discovered too late. The solution is not to rush. It is to make decisions early and keep communication open between the homeowner, designer, installer, and any separate trades.
If you are changing the layout, adding an island, or updating a bathroom vanity, ask questions before the order is released. Confirm who handles permits, demolition, installation, countertop coordination, and final connections. A one-stop renovation partner such as The Cabinets Store can help coordinate these moving pieces, while DIY homeowners can still benefit from professional design guidance and careful planning.
Your new cabinets should feel like the start of a more functional home, not the beginning of a scheduling headache. A well-prepared room gives every detail, from the first cabinet box to the final hardware pull, the best chance to come together exactly as planned.








Leave A Comment
You must be logged in to post a comment.