

A beautiful countertop is often the moment a kitchen or bathroom remodel starts to feel real. But it is also one of the last major pieces to go in. This countertop installation timeline guide explains what happens before, during, and after installation so Tampa Bay homeowners can plan with fewer surprises and make confident decisions.
For most projects, the countertop portion takes about two to six weeks after cabinets are installed and ready for final measurement. The exact schedule depends on the material, the number of seams and cutouts, the fabricator’s workload, and whether your project needs special details such as a full-height backsplash or waterfall edge. A well-planned remodel keeps the work moving without rushing the steps that determine fit and finish.
The Countertop Installation Timeline at a Glance
Countertops cannot be accurately fabricated until the base cabinets are installed, leveled, secured, and in their final positions. That is why countertop selection should happen early in the design process, while final templating happens later.
For a typical kitchen, expect an initial selection and quote during the cabinet design phase. Once cabinets are in place, the fabricator measures the space, creates the slabs or pieces, schedules installation, and returns if needed for a backsplash, plumbing reconnection, or final touch-ups. Bathroom vanity tops can sometimes move faster because they are smaller and have fewer cuts, but the same sequence still applies.
If you are coordinating a full renovation, plan your countertop installation around cabinet delivery, flooring decisions, wall finishes, appliances, and plumbing. The Cabinets Store helps homeowners coordinate those moving parts so a delay in one area does not create unnecessary trouble in another.
Step 1: Choose Your Material Early
Start selecting countertops as soon as the cabinet layout is taking shape. You do not need every finish in the room finalized, but you do need a direction for color, edge profile, sink style, and budget. Making these choices early gives you time to review samples in your home lighting and avoid choosing from whatever happens to be available at the last minute.
Quartz is a popular choice for kitchens and baths because it offers consistent color options and low-maintenance performance. Natural granite and marble bring one-of-a-kind movement, though each slab should be viewed in person when possible. Porcelain, solid surface, laminate, and butcher block have different lead times, installation requirements, and price points.
Material availability matters. A common quartz color may be ready quickly, while a special-order slab, rare natural stone, or matching full-height backsplash can add time. If your remodel has a firm deadline, tell your designer and countertop provider at the beginning. There may be a similar option with a more dependable schedule.
Decisions That Affect Lead Time
A simple rectangular countertop with one sink cutout is generally easier to fabricate than a large kitchen with an island, angled walls, multiple seams, a cooktop, and several backsplash returns. An undermount sink requires precise fabrication and installation, while a farmhouse sink requires cabinet and countertop planning before the template appointment.
Edge details also matter. A standard eased edge is usually straightforward. More decorative profiles, thickened edges, mitered waterfall panels, and integrated drainboards involve additional fabrication work. None of these features are wrong choices. They simply need to be accounted for in the schedule and quote.
Step 2: Install and Prepare Cabinets
Cabinets must be complete before final countertop measurements. Installers need to know exactly where each cabinet, end panel, support bracket, and appliance opening will sit. Even a small cabinet adjustment after templating can affect the countertop fit.
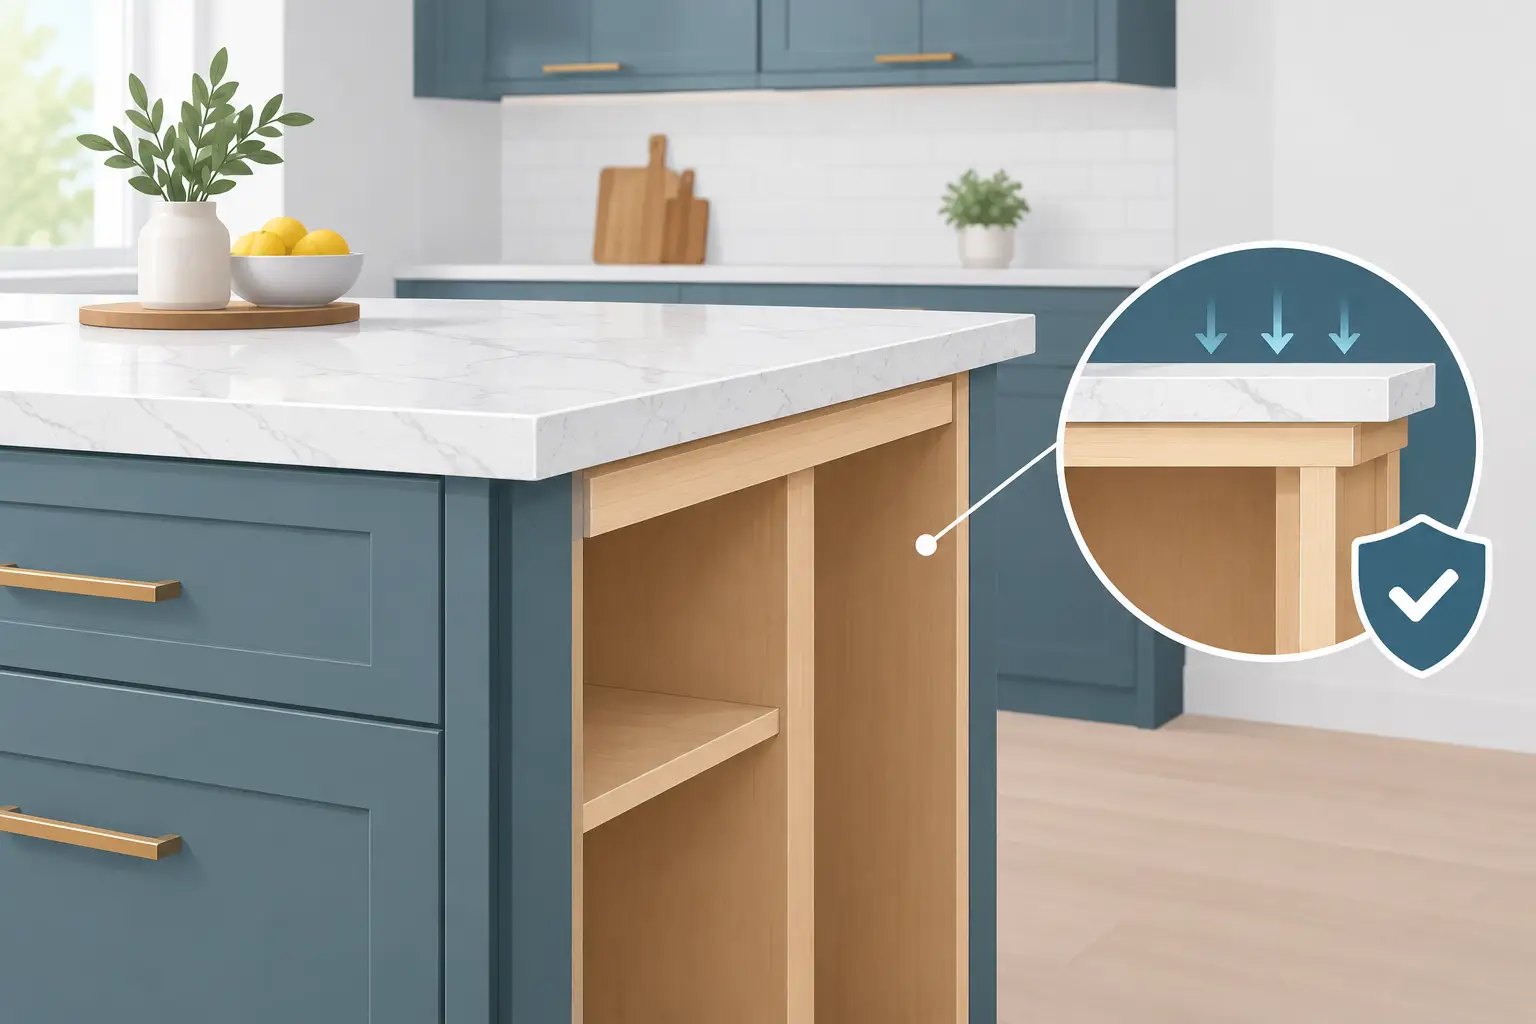
Before the template appointment, make sure base cabinets are level, securely fastened, and properly supported. This is especially important for heavy stone surfaces, long spans, overhangs, and large islands. If cabinets are not level, the countertop can develop uneven seams, visible gaps, or stress points.
Appliance specifications should also be available. The fabricator may need the exact model information for a slide-in range, cooktop, or other appliance with countertop clearance requirements. If you are using a drop-in or apron-front sink, have the selected sink on site when requested. Guessing at dimensions is one of the most avoidable causes of rework.
Do not schedule the countertop template before cabinet installation is truly finished. Small items such as loose filler strips, unfinished end panels, or a missing cabinet can delay the measure or force a second visit. A final cabinet check saves time.
Step 3: The Template Appointment
The template is the field measurement used to fabricate your actual countertop. Depending on the material and fabricator, this may involve digital laser measurement, physical template strips, or both. The technician confirms wall conditions, cabinet dimensions, overhangs, seam locations, and cutouts for sinks, faucets, cooktops, and outlets.
Most template appointments take one to two hours for an average kitchen. Someone authorized to make decisions should be present. You may be asked to approve seam placement, overhang depth, backsplash height, and the location of faucet holes. For natural stone, this is also a good time to ask how slab movement will be positioned around the sink, island, or focal areas.
Walls are rarely perfectly straight, especially in older Tampa Bay homes. Templating allows the countertop to be cut to the real room rather than a drawing alone. That is why the process cannot be skipped, even when a kitchen layout seems simple.
What Can Delay Templating?
A template may need to be postponed if cabinets are not installed, the sink has not arrived, walls are being moved, or major drywall and flooring work is unfinished. Changes to cabinet layout after the measure may require a new template and could create added costs.
It also helps to keep the work area clear. Remove countertop items, empty base cabinets if requested, and make sure installers can access the room and the route from the entry to the kitchen or bath. If a large island piece must travel through a tight opening, the team may need to plan the route or fabricate the top in sections.
Step 4: Fabrication Takes Time for Good Reason
After templating, fabrication usually takes about one to three weeks. During this stage, the material is cut, edges are shaped and polished, sink and cooktop openings are made, and pieces are prepared for transport. Timing varies with the material, shop capacity, and complexity of the job.
This is the stage homeowners often want to accelerate, especially when they have been without a working kitchen. Still, careful fabrication is worth the wait. Rushed work can lead to poor seam alignment, chipped edges, incorrect cutouts, or a pattern that does not look balanced across the room.
Natural stone deserves a little extra discussion. Veining and color variation are part of its character, and seam placement may be influenced by slab size and movement. Quartz is more uniform, but it still has practical limits based on slab dimensions, access into the home, and safe handling. Your fabricator should explain where seams are necessary and why.
Step 5: Installation Day
Most countertop installations take one day. Larger kitchens, multi-piece islands, waterfall edges, full-height backsplashes, or difficult access can extend the work into a second day. Installers will carry in heavy pieces, dry-fit them, make final adjustments, secure the countertops, and seal seams where applicable.
Plan to keep children and pets away from the work area. The process involves heavy lifting, dust from minor adjustments, adhesives, and limited access to the kitchen or bathroom. Clear a path from the entrance to the installation area, and protect nearby furniture if the route is tight.
You may not be able to use your sink, cooktop, or plumbing immediately after installation. Adhesives and silicone need time to cure, and plumbers usually reconnect the sink and faucet after the countertop team has completed its work. Ask your installer for the specific waiting period for your material and project.
Before the crew leaves, inspect the surfaces in good lighting. Look at seams, edges, corners, wall gaps, and cutouts. Small wall gaps may be normal and are often covered by a backsplash or caulk line. Bring up any concerns promptly so the team can explain what is expected or document a needed adjustment.
Step 6: Plan the Work That Follows
Countertop installation is a milestone, not always the final day of the remodel. The sink and faucet need to be connected, the dishwasher may need to be secured, and a tile or slab backsplash may still be ahead. If you are installing a full-height stone backsplash, it may be measured after the countertop is in place to ensure the cleanest fit.
Avoid scheduling final painting, delicate trim work, or a large gathering for the same day as installation. Give yourself a small buffer for plumbing, touch-ups, and cleanup. A few extra days in the schedule can protect you from turning a minor coordination issue into a stressful deadline.
How to Keep Your Countertop Schedule on Track
The most reliable way to shorten the process is not to pressure the final installation date. It is to prevent decisions and jobsite conditions from holding up the steps before it. Confirm your material availability, select the sink and appliances early, complete cabinet installation before templating, and keep changes to a minimum once measurements are taken.
A good renovation partner will be honest about timing rather than promise an unrealistic date. Countertop lead times can shift with supplier inventory, seasonal demand, weather-related delivery interruptions, and the complexity of the fabrication. Clear communication gives you more control than a vague promise ever will.
Your new countertop should fit your room, your routine, and your budget – not just a calendar date. Build in a little breathing room, ask questions before the template appointment, and you will be ready to enjoy the finished space when the last detail comes together.