
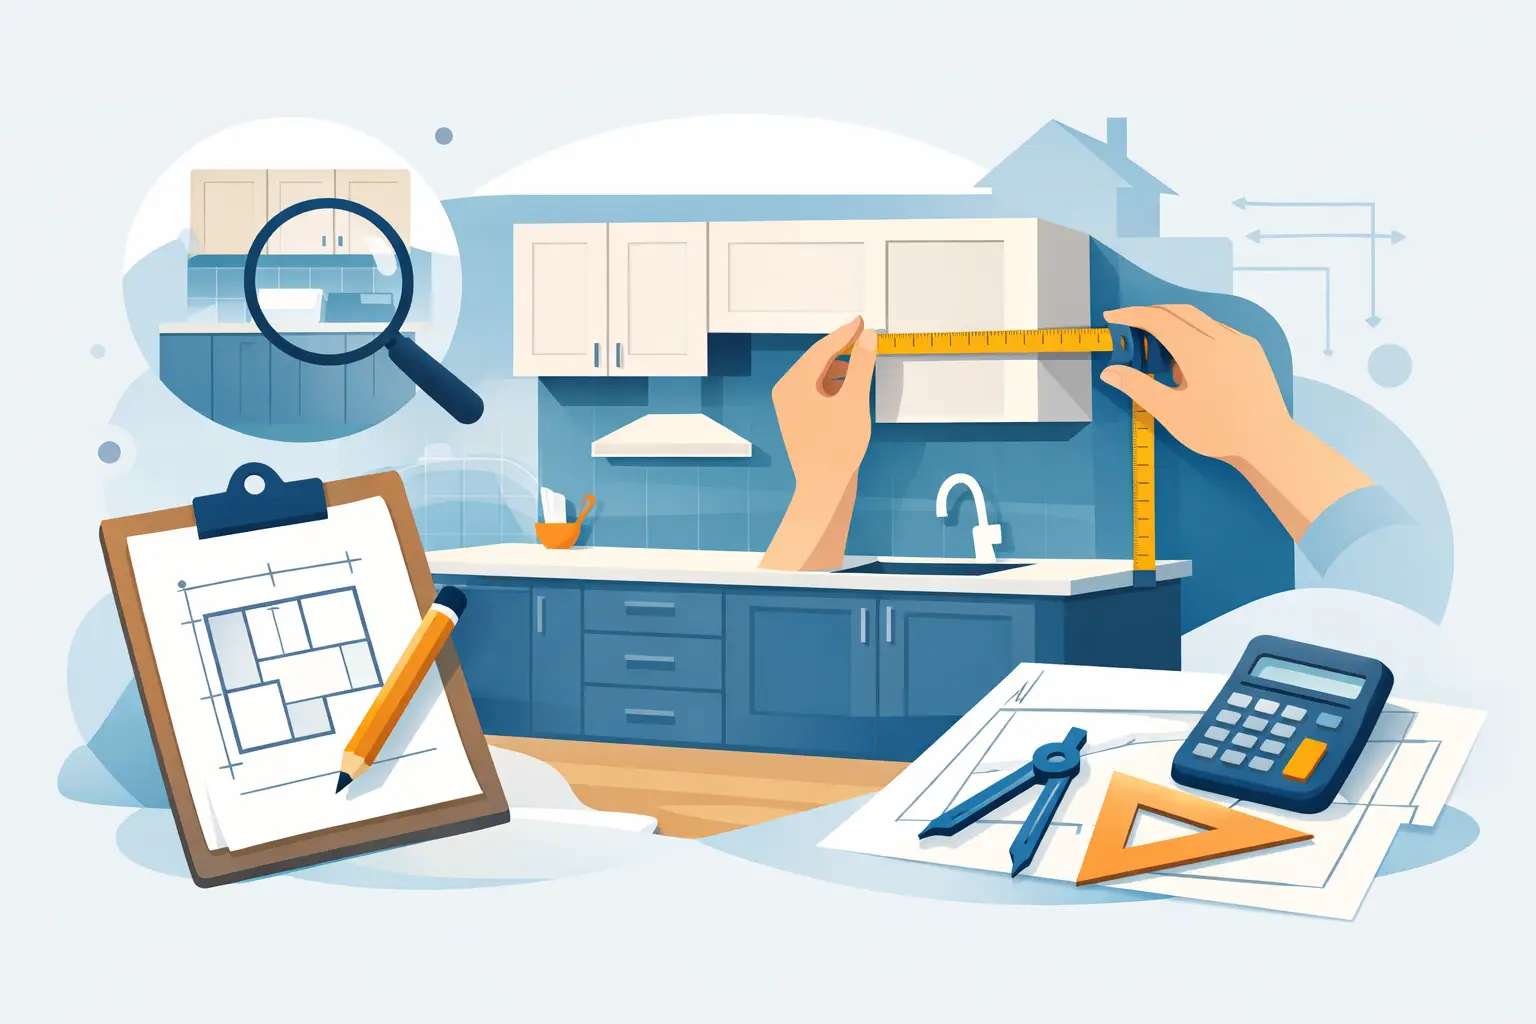
A kitchen can look straightforward until the tape measure comes out. One wall that is slightly out of square, an overlooked window trim, or a refrigerator that needs more clearance can change the entire cabinet plan. Knowing how to measure kitchen cabinets before you shop helps you get a more accurate quote, avoid order delays, and make better use of every inch.
For a remodel, you are measuring more than the cabinets currently in the room. You are documenting the space that new cabinets, appliances, countertops, and walkways need to share. Take your time, write every dimension down clearly, and do not rely on memory or a single rough sketch.
Start With the Right Measuring Tools
You do not need professional equipment to create a useful kitchen measurement sheet. A quality tape measure, pencil, graph paper, level, and a phone or camera will cover most homeowner projects. A laser measure can make long wall measurements easier, but confirm key dimensions with a tape measure before finalizing a cabinet order.
Measure in inches and record dimensions as width x height x depth whenever possible. Keep your sketch simple: draw each wall separately, mark the direction of door swings, and label every opening, fixture, and obstacle. Photos taken straight on from each wall are also valuable during a design consultation.
Before measuring, clear countertop clutter and move anything that blocks access to the walls. If you are keeping existing appliances, have their model numbers or exact dimensions ready. Appliance specifications can differ from the visible size of the unit, especially for built-in dishwashers, ranges, and refrigerators.
How to Measure Kitchen Cabinets and the Room Around Them
Begin with the room, not the cabinet boxes. Cabinet sizing only works when the available space has been documented accurately.
Measure every wall at more than one point
For each wall, measure the full length near the floor, at countertop height, and near the ceiling. Older homes and even newer homes can have walls that are not perfectly straight. If the measurements differ, record the smallest one and note the variation for your designer or installer.
Then measure from floor to ceiling in several locations. Standard base cabinets are usually 34 1/2 inches tall before countertops, while wall cabinet heights vary based on ceiling height, cabinet style, and the desired space above the countertop. The room measurements determine which combination will look balanced and fit properly.
Do not assume a corner is a clean 90 degrees. Measure from the corner outward along both walls, and take a diagonal measurement across the room if the space seems unusual. This matters in L-shaped kitchens, galley kitchens, and rooms with angled exterior walls.
Record doors, windows, and trim
Measure every door and window opening from outside edge to outside edge, including trim. Note its location by measuring from the nearest corner to each side of the opening. Record the height from the floor to the bottom and top of each window as well.
For doors, mark which way they swing and whether they open into the kitchen. A cabinet may technically fit beside a door but still prevent it from opening fully. Pantry doors, garage-entry doors, and sliding patio doors often create clearance issues that are easy to miss on a simple wall-length measurement.
Windows need special attention when planning countertops and wall cabinets. A low window can affect backsplash height and countertop placement, while a high window may limit the height or width of wall cabinets. Include the depth of window trim if it projects into the room.
Include fixed items and utility locations
Mark anything that is difficult or expensive to move. This includes plumbing supply lines, drain pipes, gas lines, electrical outlets, switches, vents, soffits, columns, and HVAC registers. Measure each item from the closest wall or corner, then record its height from the finished floor.
A sink base can often be adjusted slightly to align with plumbing, but moving it several feet may add meaningful cost and coordination. The same is true for a range hood vent or gas connection. A good cabinet layout can work around these details when they are known early.
Measure Existing Cabinets Only If You Are Replacing Them
Existing cabinet dimensions are helpful as a reference, but they should not be treated as the new plan. Measure each cabinet box width from side to side, then measure its depth from the wall to the cabinet front. For base cabinets, measure height from the floor to the top of the cabinet box, not to the countertop surface.
Also note filler strips, decorative panels, end panels, and toe kicks. A 30-inch cabinet may appear to fill a 33-inch opening because of fillers or trim on either side. Those pieces are necessary in many layouts, particularly near walls and corners where doors and drawers need room to operate.
If you want to reuse a specific element, such as a countertop overhang or a pantry location, photograph and measure it separately. Otherwise, focus on what does not work in the current kitchen. A better layout may use entirely different cabinet widths while still staying within the same room footprint.
Plan for Appliances, Not Just Cabinet Openings
Appliances are one of the most common sources of measurement mistakes. Write down the actual width, height, depth, and required installation clearances for every appliance that will remain or be replaced.
Refrigerators deserve extra space for door swing, hinge clearance, ventilation, and handles. A 36-inch refrigerator may need a wider opening, and its doors may extend well beyond the cabinet line when open. Measure its depth with and without handles so you can decide whether you want it flush with cabinets, slightly proud of them, or set deeper into the plan.
For a range, confirm whether it is freestanding, slide-in, or built-in. Slide-in ranges may need countertop overlap on the sides, while freestanding models have different side-clearance needs. Dishwashers are typically designed for a standard opening, but flooring height and countertop thickness can affect whether a unit can be removed later for service.
If you are adding a microwave drawer, wall oven, beverage center, or tall pantry cabinet, collect the manufacturer specifications before choosing cabinet sizes. Cabinetry is easier to design around a confirmed appliance than to modify after it arrives.
Leave Room for Function and Installation
A kitchen layout needs breathing room. Cabinets can fit on paper and still feel cramped if there is not enough aisle space, landing space, or room to open doors and drawers.
As a practical starting point, plan for at least 36 inches of clearance in a kitchen walkway and more room in busy work zones or between opposing counters. Islands need careful planning because they affect traffic flow, seating, appliance access, and drawer clearance all at once. The best dimension depends on your household, kitchen shape, and whether more than one person cooks regularly.
Do not forget countertop overhangs. Countertops commonly extend beyond base cabinet fronts, and seating areas require additional support and knee space. Measure wall projections, moldings, and nearby door casings so countertop edges do not create a conflict.
Cabinet installation also requires small but critical allowances. Fillers may be needed beside walls, tall cabinets, or appliances. They prevent drawer handles from hitting a wall and give installers space to account for walls that are uneven. These details can feel minor during measuring, but they protect the finished look of the kitchen.
Create a Clear Measurement Sheet for Your Designer
Your sketch does not have to look polished. It does need to be legible and complete. For each wall, include its overall length and ceiling height, then add the measurements for windows, doors, utilities, and obstructions. Label appliance locations and indicate whether they are staying, moving, or being replaced.
It helps to bring four things to a cabinet appointment: your dimensioned sketch, photos of each wall, appliance details, and a few notes about how you want the kitchen to function. Mention frustrations such as limited pantry storage, crowded prep space, or a lack of drawers. Those priorities can shape the layout as much as the measurements themselves.
For Tampa Bay homeowners, an in-person review can be especially useful when a kitchen has soffits, uneven walls, tile that will remain, or a layout that is being opened to another room. The Cabinets Store can help turn a homeowner’s initial measurements into a practical cabinet plan, then verify details before the project moves forward.
A careful first measurement is not a final installation survey, but it is the point where a dream kitchen becomes a plan you can price, improve, and trust. Bring a complete sketch to the conversation, ask questions when a dimension looks unusual, and let the finished layout be built around the way your household actually lives.