
A kitchen can look freshly remodeled one week and slightly tired the next, often because a thin film of grease has settled on the cabinet doors. Knowing how to clean kitchen cabinets correctly keeps that buildup from dulling the finish, attracting dust, and turning handles and door edges sticky. The right method is simple, but the cleaner, moisture level, and amount of scrubbing should match the cabinet material.
For Tampa Bay homeowners, this matters even more in busy kitchens where humidity, frequent cooking, and open windows can add moisture and grime to the mix. Clean cabinets do not just look better. They also make it easier to spot chipped paint, loose hardware, worn caulk, or other small issues before they become part of a larger kitchen project.
How to Clean Kitchen Cabinets Safely
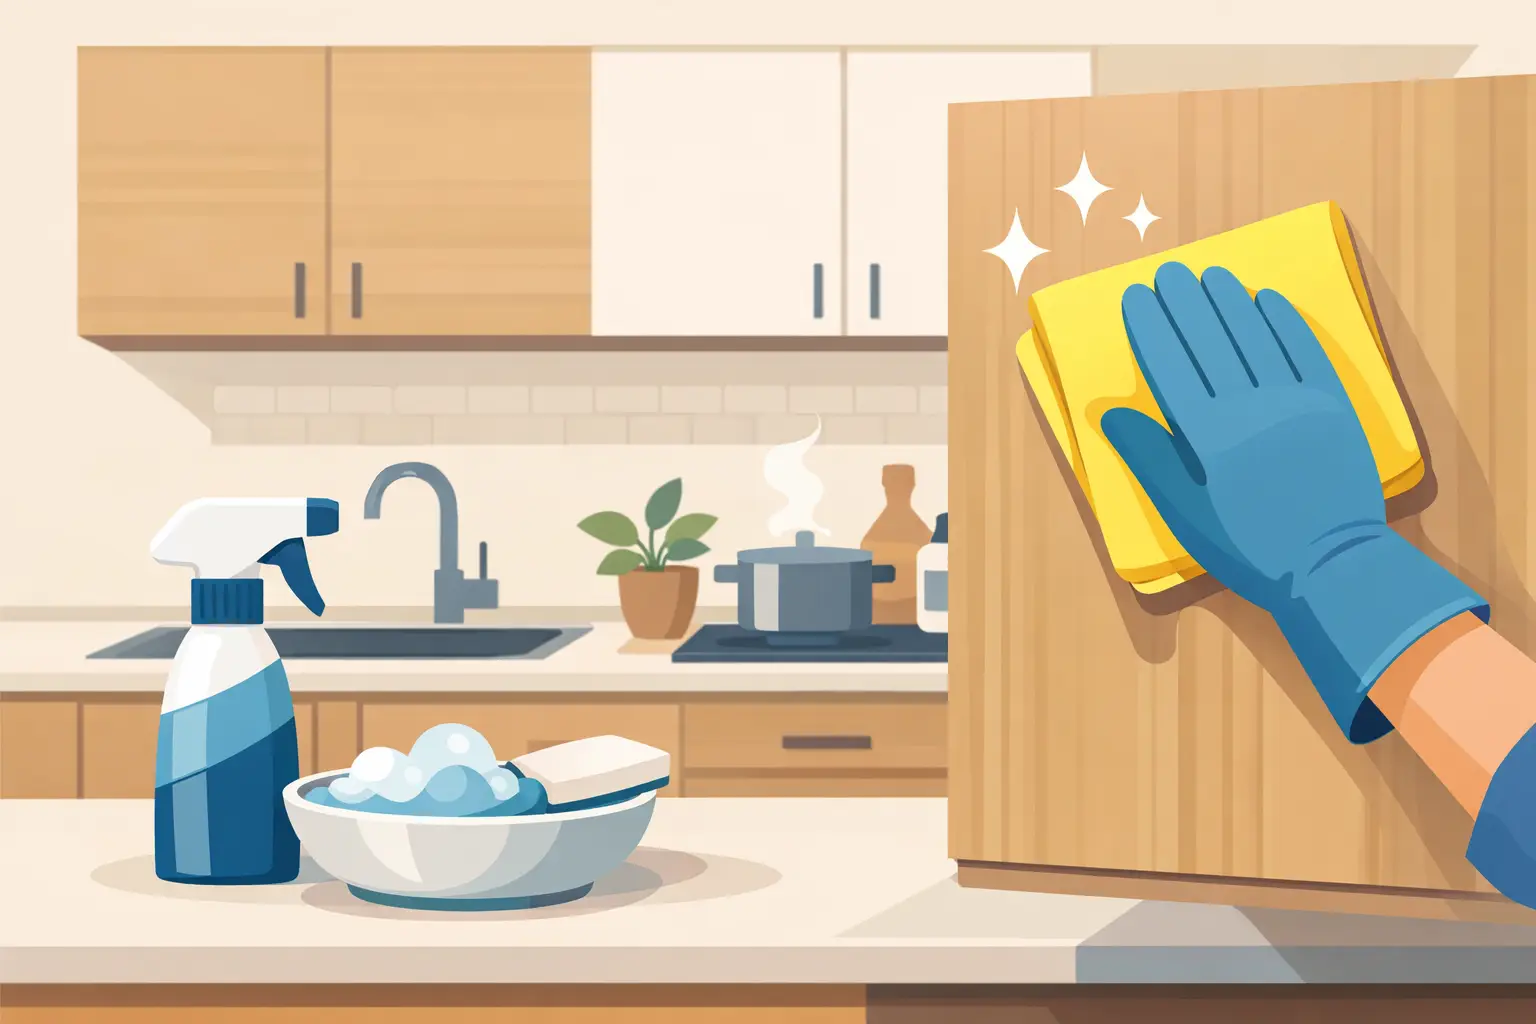
Start with the least aggressive approach. Most cabinets respond well to warm water, a small amount of mild dish soap, and a soft microfiber cloth. Mix a few drops of dish soap into a bowl or bucket of warm water. The water should feel comfortably warm, not hot.
Dip the cloth into the solution and wring it out very well. It should be damp, never dripping. Wipe cabinet doors, drawer fronts, frames, and exposed sides in small sections, working from top to bottom. Follow immediately with a second microfiber cloth lightly dampened with clean water, then dry the area with a clean towel.
Drying is not an optional final touch. Water left along door seams, around hinges, or beneath cabinet edges can affect paint, soften wood finishes, and cause swelling in wood-based cabinet materials. This is especially true around the sink, dishwasher, and range.
For everyday cleaning, this gentle method is usually enough. A quick wipe every week or two prevents the kind of buildup that calls for stronger cleaners and more elbow grease later.
Start by Removing Dust and Loose Crumbs
Before applying any cleaner, use a dry microfiber cloth to remove dust, crumbs, and loose debris. This small step prevents grit from being dragged across the finish while you wipe. Pay attention to upper cabinet tops, door profiles, recessed panels, and the narrow space where cabinet doors meet the frame.
If you are cleaning inside the cabinets, empty one section at a time. Vacuum crumbs with a brush attachment or wipe them out with a dry cloth before using a damp one. Do not soak interior shelves, particularly if they are made of particleboard or MDF with a laminate surface.
Removing Grease From Kitchen Cabinets
Grease is usually most noticeable near the cooktop, but it can travel farther than expected. A cabinet may feel smooth while still holding a thin, sticky layer that makes dust cling to the surface. When mild soapy water does not cut through it, increase cleaning strength gradually rather than reaching for a harsh degreaser first.
A mixture of warm water and dish soap with a little more soap than your regular cleaning solution may be enough for light grease. Wipe a small area, let the damp cloth sit against the surface for a few seconds, and then gently rub. Avoid letting the solution sit long enough to run into joints or seams.
For stubborn grease, use a cabinet-safe commercial cleaner according to its label, or test a diluted vinegar solution in an inconspicuous spot first. Vinegar can help with grease on some laminate and thermofoil cabinets, but it is not the best choice for every finish. Its acidity may dull certain painted surfaces or damage waxed and specialty finishes over time.
Never use oven cleaner, bleach, ammonia, scouring powder, or abrasive scrub pads on cabinet faces. They can strip sheen, scratch laminate, discolor paint, and leave permanent dull spots. A rough sponge may seem effective in the moment, but the scratch marks often become more visible once the cabinet dries.
Focus on the Areas Hands Touch Most
Cabinet handles, knobs, pullouts, and the corners of door fronts collect fingerprints and cooking residue faster than broad, flat panels. Clean these areas with the same mild solution, using a soft toothbrush only for detailed grooves or hardware crevices. Keep the brush damp, not wet, and wipe away moisture right away.
If hardware is especially grimy, remove it only if you are comfortable reinstalling it correctly. Place screws in a labeled bag and clean the hardware separately with a suitable product. Do not leave cabinet doors with exposed screw holes wet.
Match the Cleaner to Your Cabinet Finish
The cabinet door style may influence how you clean, but the finish matters most. If you are unsure what your cabinets are made of, begin with mild soap and water and test any specialty product on the inside edge of a door first.
Painted Cabinets
Painted cabinets bring a bright, tailored look to a kitchen, but they can show fingerprints, food splatters, and scratches more easily than darker wood finishes. Use mild dish soap and water with a soft microfiber cloth. Avoid heavy scrubbing on corners and routed details, where paint can wear through first.
For a mark that will not lift, do not immediately use a magic eraser or abrasive sponge. These products can remove paint sheen and create a noticeably dull patch. Try a small amount of cabinet-safe cleaner instead, then rinse and dry the area.
Natural Wood and Stained Wood Cabinets
Wood cabinets should be cleaned with minimal moisture. A barely damp cloth and mild soap are generally appropriate for sealed wood finishes. Wipe in the direction of the grain when possible, then dry completely.
Skip furniture polish unless the cabinet manufacturer specifically recommends it. Many polishes leave a residue that attracts dust or complicates future refinishing. If cabinets look dry, faded, or uneven after cleaning, that may be a finish issue rather than a cleaning issue. A cabinet professional can help determine whether touch-up, refinishing, or replacement is the better investment.
Laminate and Thermofoil Cabinets
Laminate and thermofoil surfaces are durable and easy to maintain, which makes them a practical choice for many family kitchens. Warm water, mild dish soap, and a soft cloth are usually all that is needed. Avoid excessive heat and moisture around edges, seams, and peeling areas.
If thermofoil is lifting or laminate edges are separating, do not saturate the spot with cleaner. Dry it thoroughly and address the repair promptly. Cleaning can improve the appearance of a cabinet, but it cannot reverse delamination or water damage.
Clean the Cabinet Interiors, Too
Cabinet interiors deserve attention a few times a year, especially the pantry, under-sink base cabinet, and drawers near the cooking area. After removing contents and dry debris, wipe shelves with a lightly damp cloth and mild soap solution. Dry fully before replacing dishes, food containers, or liners.
The cabinet under the sink should be checked for moisture every time you clean it. Look for water stains, a musty smell, swollen shelf material, or corrosion around plumbing connections. Catching a small leak early can save the cabinet box and help avoid a more extensive repair.
Shelf liners can make future cleaning easier, but choose liners that lie flat and do not trap moisture underneath. Replace them if they become greasy, warped, or difficult to wipe down.
A Simple Cleaning Schedule That Works
Cabinets do not need a deep clean every weekend. Consistency is more useful than over-cleaning. Wipe splatters near the range as they happen, clean handles and high-touch areas weekly, and wash cabinet faces every one to three months based on how often you cook.
A deeper clean is worthwhile before hosting, after a holiday cooking season, or before listing your home for sale. It is also a smart first step when planning a kitchen update. Once grease and clutter are gone, you can evaluate the true condition of the doors, cabinet boxes, storage layout, and finishes.
When Cleaning Is Not Enough
Sometimes cabinets still look worn after a careful cleaning because the problem is not surface dirt. Peeling thermofoil, swollen boxes, cracked doors, faded finishes, sagging shelves, and outdated storage can all make a kitchen feel older than it is.
In that situation, it helps to weigh repair against replacement. Replacing a few damaged doors or updating hardware may be enough for a cabinet system that is otherwise sound. For kitchens with water damage, poor layout, or limited storage, a more complete cabinet update can provide a better long-term result. The Cabinets Store can help Tampa Bay homeowners compare practical cabinet options, design choices, and renovation plans without making the process feel overwhelming.
Clean cabinets are one of the simplest ways to care for your kitchen, protect its finish, and enjoy the space more every day. A gentle cleaner, a dry microfiber cloth, and regular attention will do more for your cabinetry than a cabinet full of harsh products.